
Making lidded honey pots

I always have this vision of what I want my house to look like. If I could have it my way I would live a comfy, artsy, cottage, surrounded by sunflowers. Actually if I could somehow pluck the teacher's cottage out of Roald Dahl's Matilda it would be perfect. There would be big fuzzy bees, and I wouldn't have to work, I would spend my time tending to my garden, harvesting honey, eating, and making art all day. However this hasn't happened yet, so in the mean time I like to make things to fill my future cottage. This honey pot is one of them, designed with happy and cozy in mind.

The process of making a honey pot is pretty simple, it's the lids that complicate things. At least it does for me. They take a lot of measuring and a bit of finesse. I unfortunately still have a lot to learn, and even more finesse to acquire. The things that can go wrong when making a lid far out weigh the things that can go right. If the rim isn't wide enough, the lid will fall through when you fire it. Or if the lid is too big, it will get stuck as it shrinks in the kiln. Even if a pot has survived a bisque firing, there is still the risk of the glaze gluing the lid to the pot.
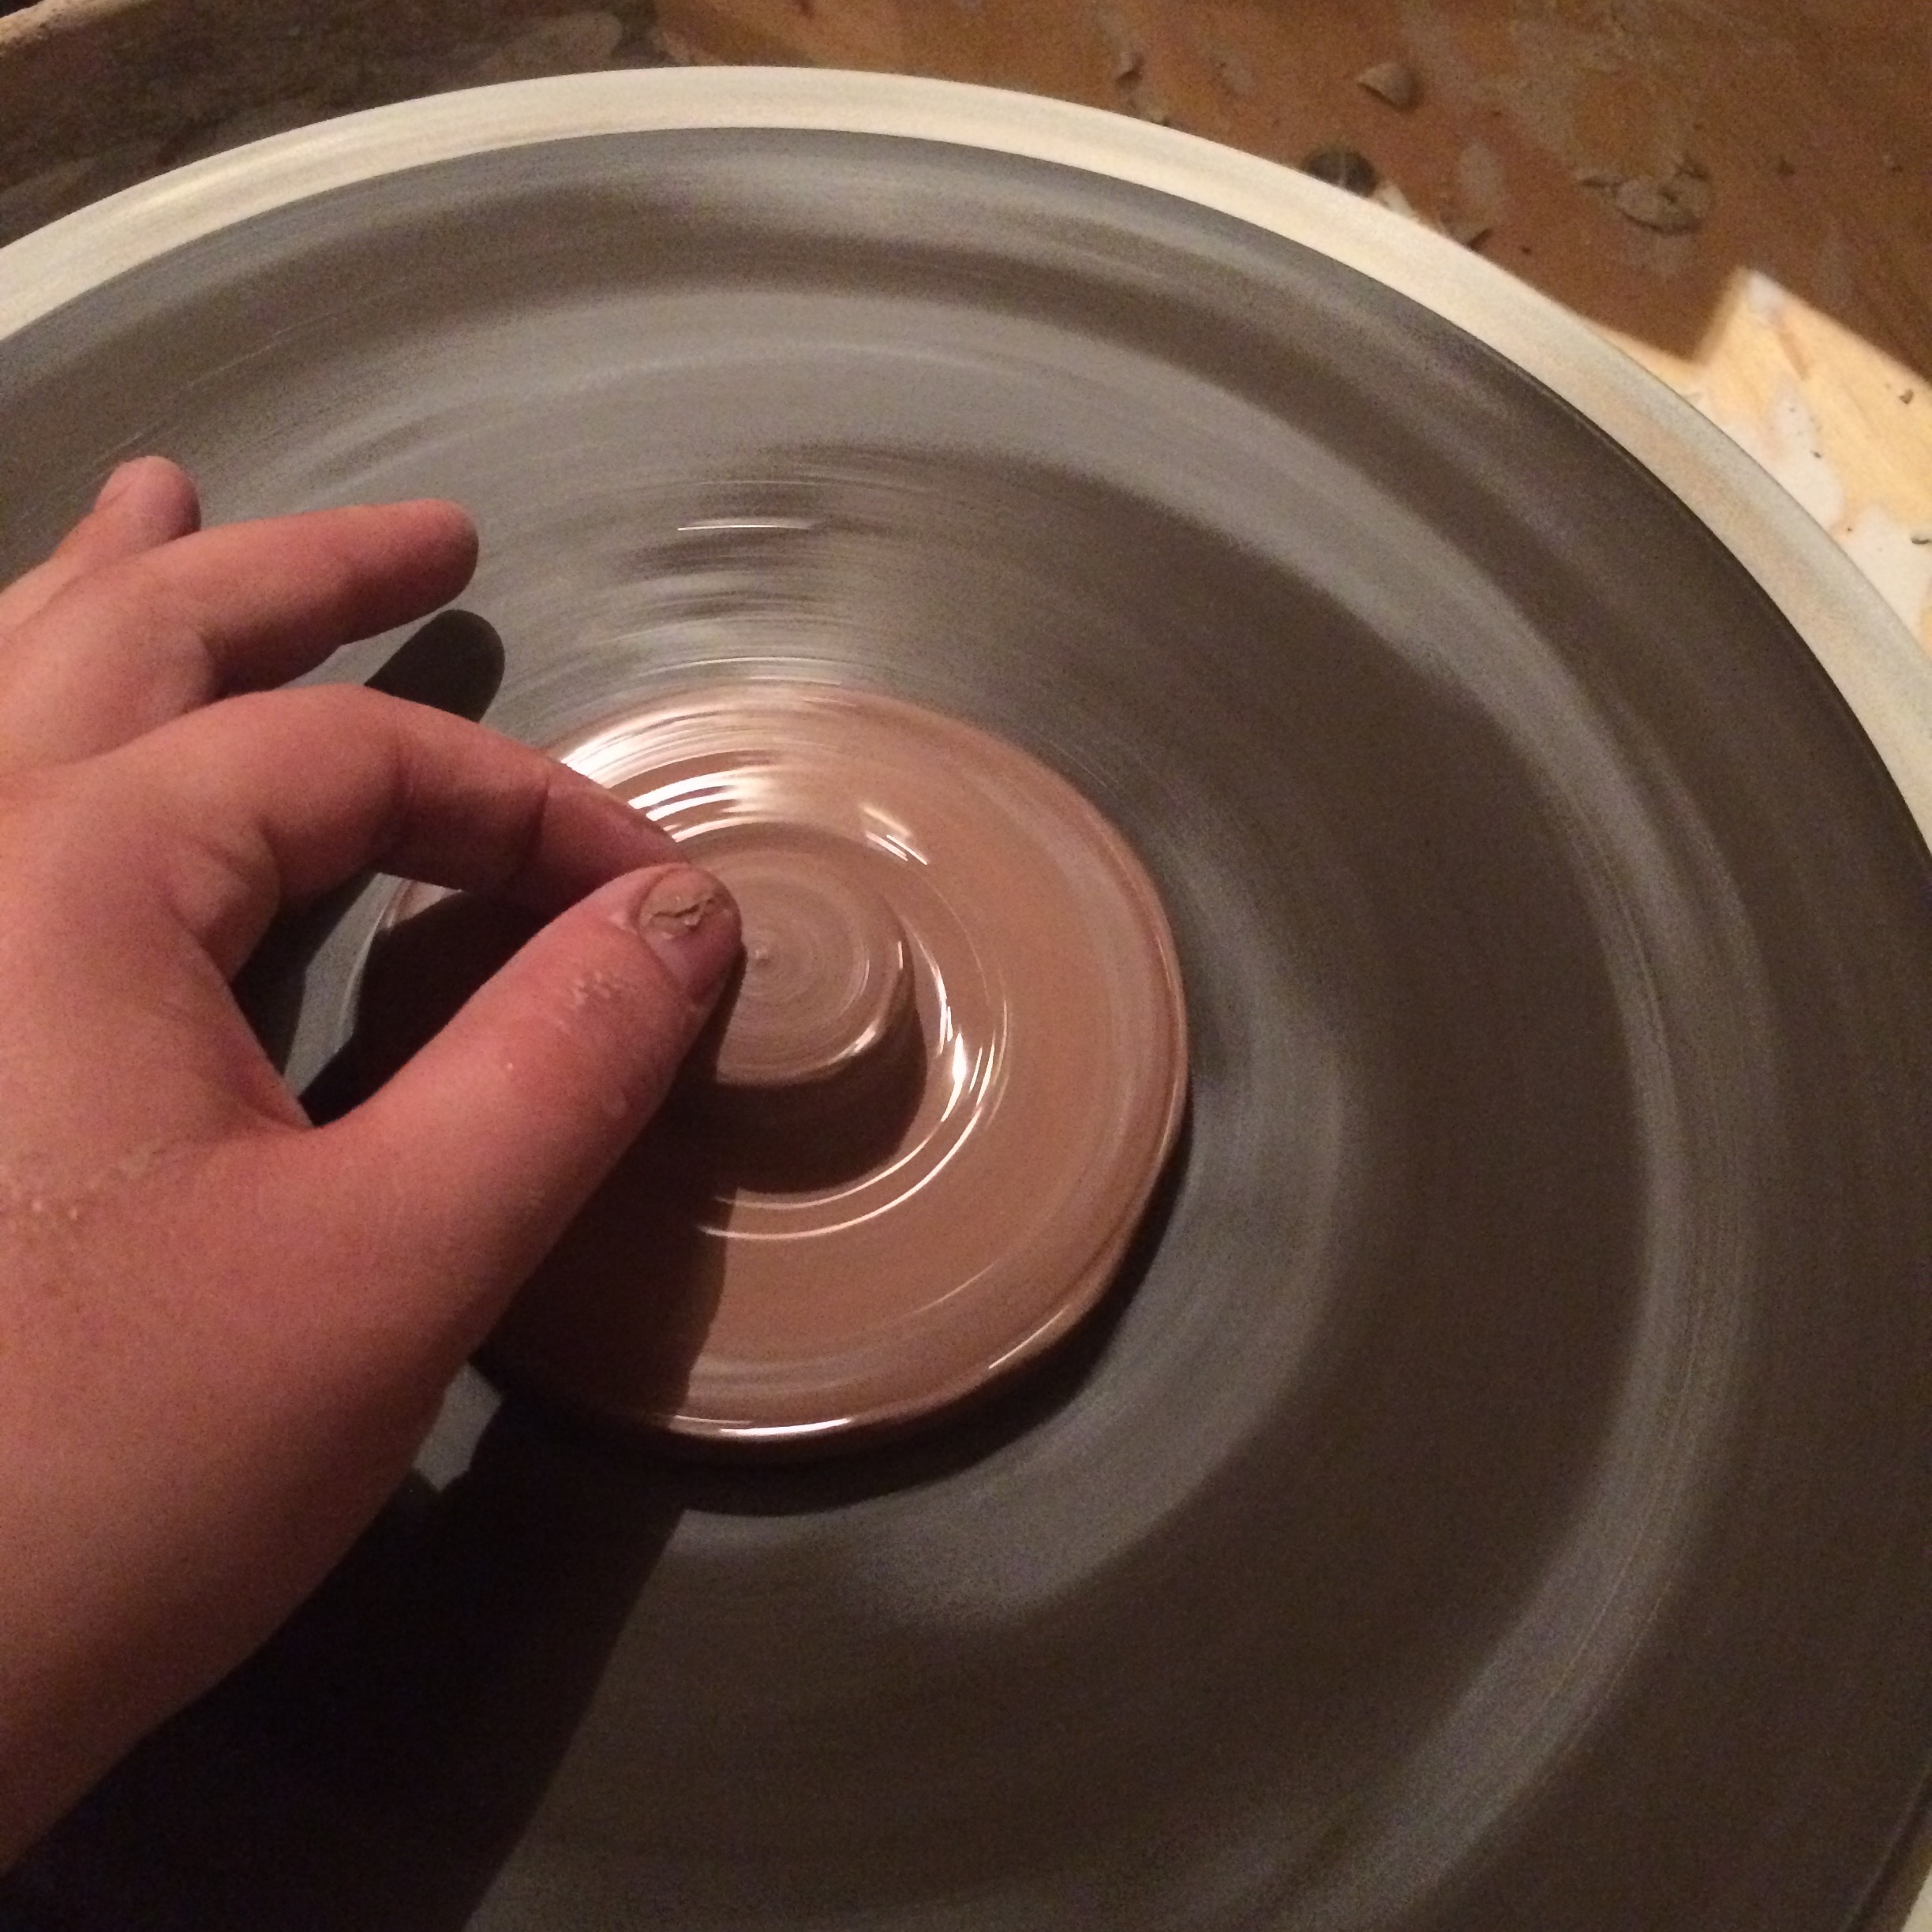
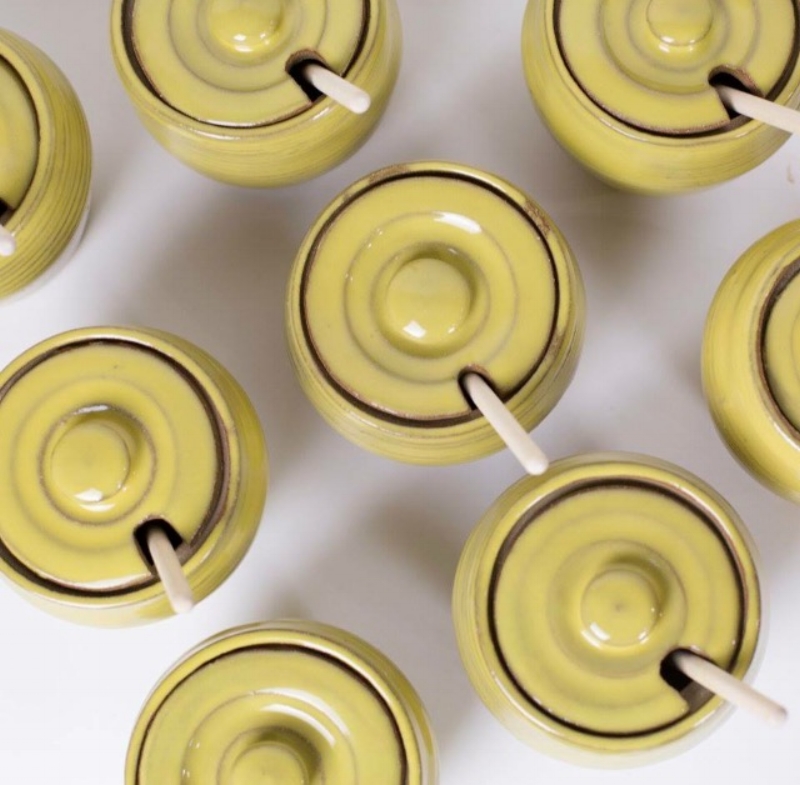
The process of making the lids was a mixture of hand-building and throwing, I started by rolling out some clay, and using a needle tool to cut out the right size circles needed. For the knob on top of the lid I rolled up a small ball of clay and formed the shape on the wheel. After a bit of trimming afterwards the lid should fit snuggly in the rim of the pot, like it does below.